Groups
Overview
In Smart Knowledge Hub, it is possible to group multiple users. These groups can then be assigned to Projects, Elements, Thinx and Playlists, and vice versa, i.e. Projects, Elements, Thinx and Playlists can also be assigned to groups.
Reminder: If no group is assigned to a Project, this Project is accessible for all Smart Knowledge Hub users within your organization. The same applies to Elements, Thinx and Playlists.
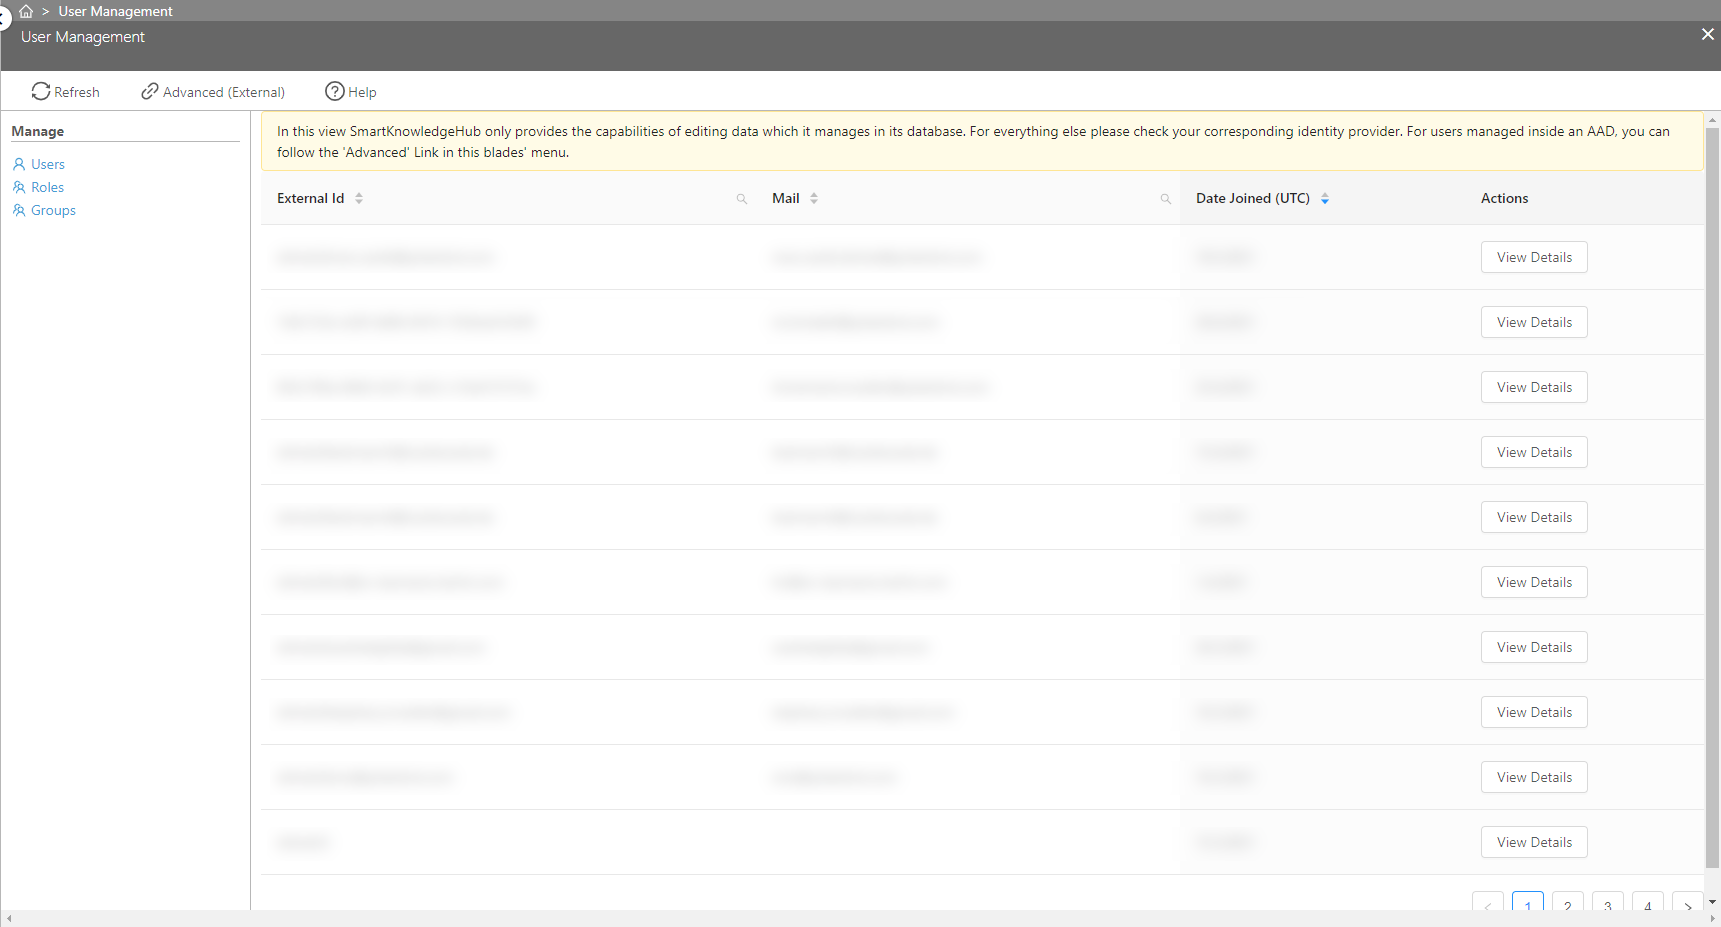
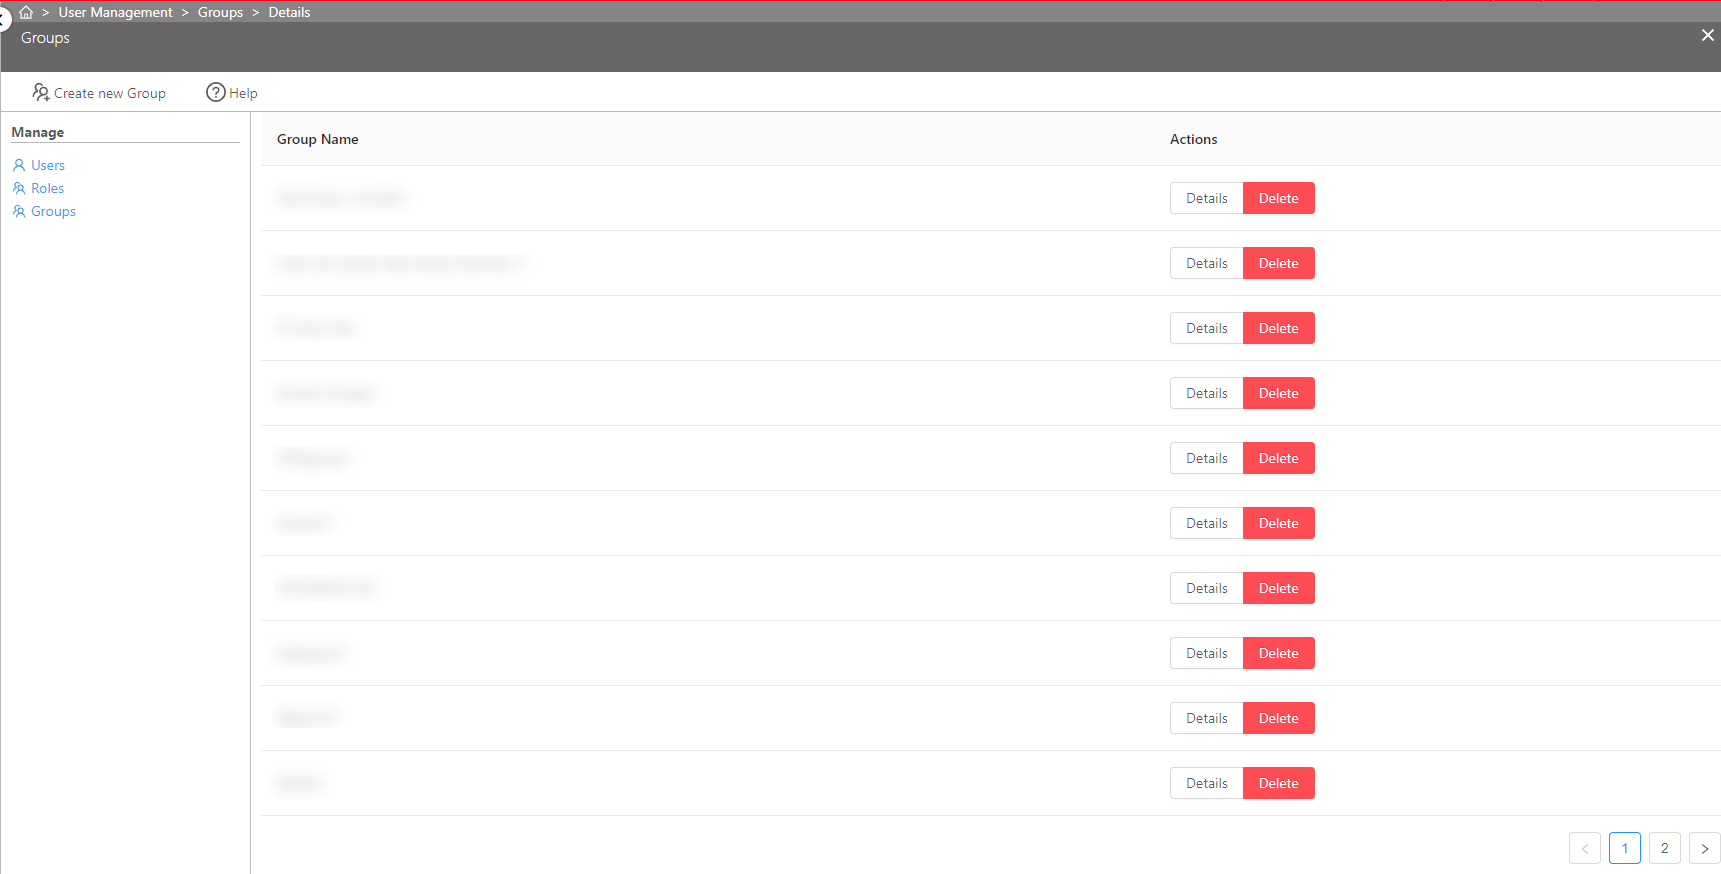
Click on 'User Management' in the Main Menu. To access the group management, click on 'Groups' in the 'Manage' bar. The groups blade will open and show all available groups.
Create new group
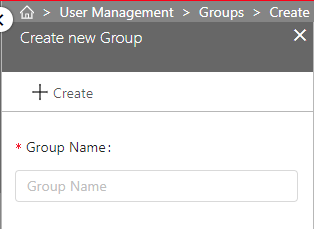
1. To create a new group, click on 'Create new group' in the function bar.

2. A new blade will open up. Enter the group name and click on 'Create' to save the group.
Edit existing group
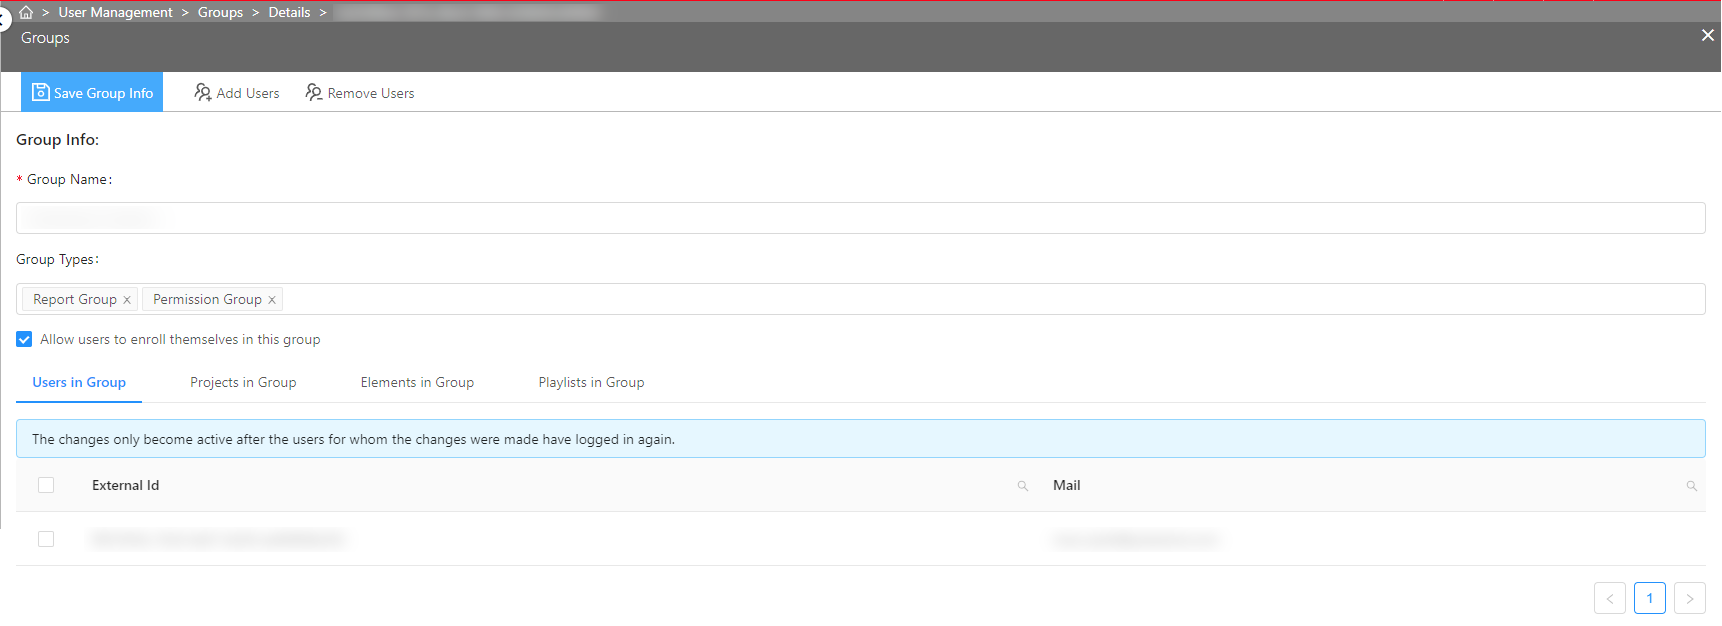
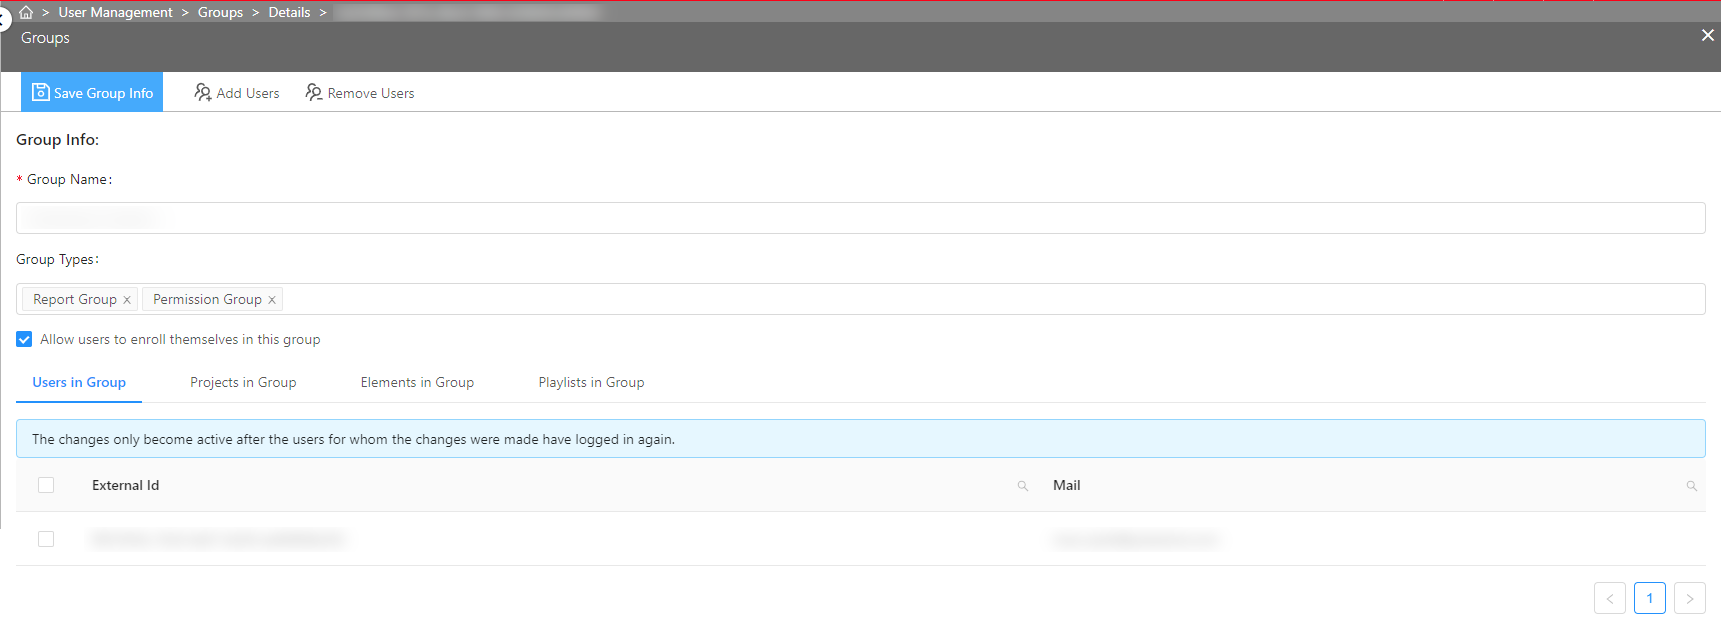
You can edit a group to change the group name and types, assign new users and allow users to enroll themselves in the group or not.
To edit the group, click on 'Details' in the Action column.

A new blade will open. Here you can change the group name and group types by editing the corresponding fields.
Group types
| Group type | Effect |
|---|---|
| Report Group | Report Groups can be selected within the standard report. |
| Permission Group | Permission Groups can be selected within Permission settings. |
Open Groups
If you choose the option 'Allow users to enroll themselves in this group', the users will see a popup window about this as soon as their next browser session begins. Additionally, they can join and/or leave open group within the 'My groups' tab of their settings screen.
To save your changes, click on 'Save Group Info' in the function bar.
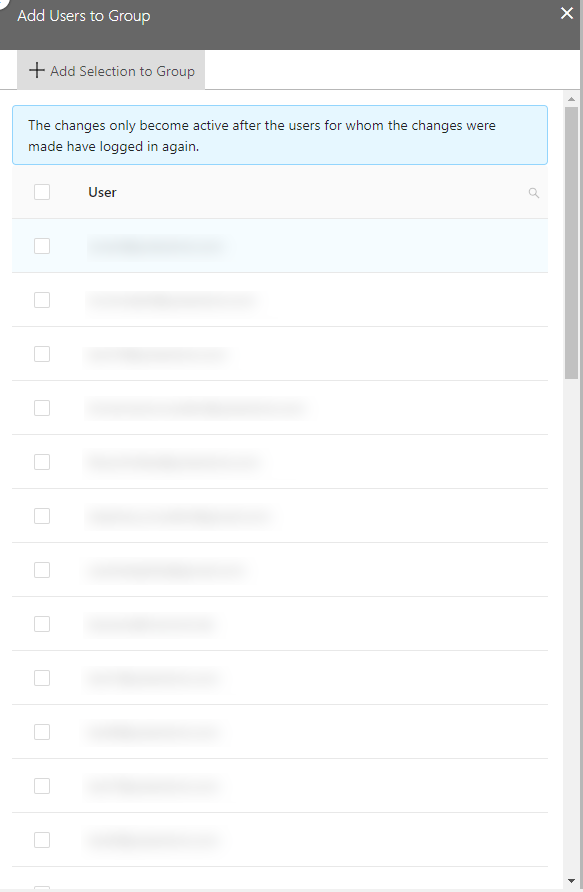
Add users to group
1. To add a new user, click on 'Add Users' in the function bar.

2. Select the user(s) you want to assign to the selected group. When done, click on 'Add selected Users' to save your selection.
Remove users from group
1. To remove users, select the users in the 'Users in Group' list and click on 'Remove Users'.
Add projects to group
If you select the tab 'Projects in Group' instead of the 'Users in Group' tab, the buttons 'Add Projects' and 'Remove Projects' become visible.
1. To add a project to the group, click on 'Add Projects' in the function bar.
2. Select the project(s) you want to assign to the selected group. When done, click on 'Add selected Projects' to save your selection.
Remove projects from group
To remove projects, select the projects in the 'Projects in Group' list and click on 'Remove Projects'.
Add / Remove Elements, Thinx and Playlists to group
Adding Elements, Thinx and / or Playlists to a group can be done the same way as adding Projects; just select to respective tab first.
Elements, Thinx and Playlists can be set to Public. In this case, they are not shown in the list because you cannot set any group permissions for them until you set them to Private.
Remove existing group
To remove an existing group, click on 'Delete' in the Actions column.
Note: Deleting a group is only possible if there is no Project, Element, Thinx or Playlist assigned to it. If you want to delete a group that is assigned to a Project, Element, Thinx or Playlist, you will recieve an error message.
